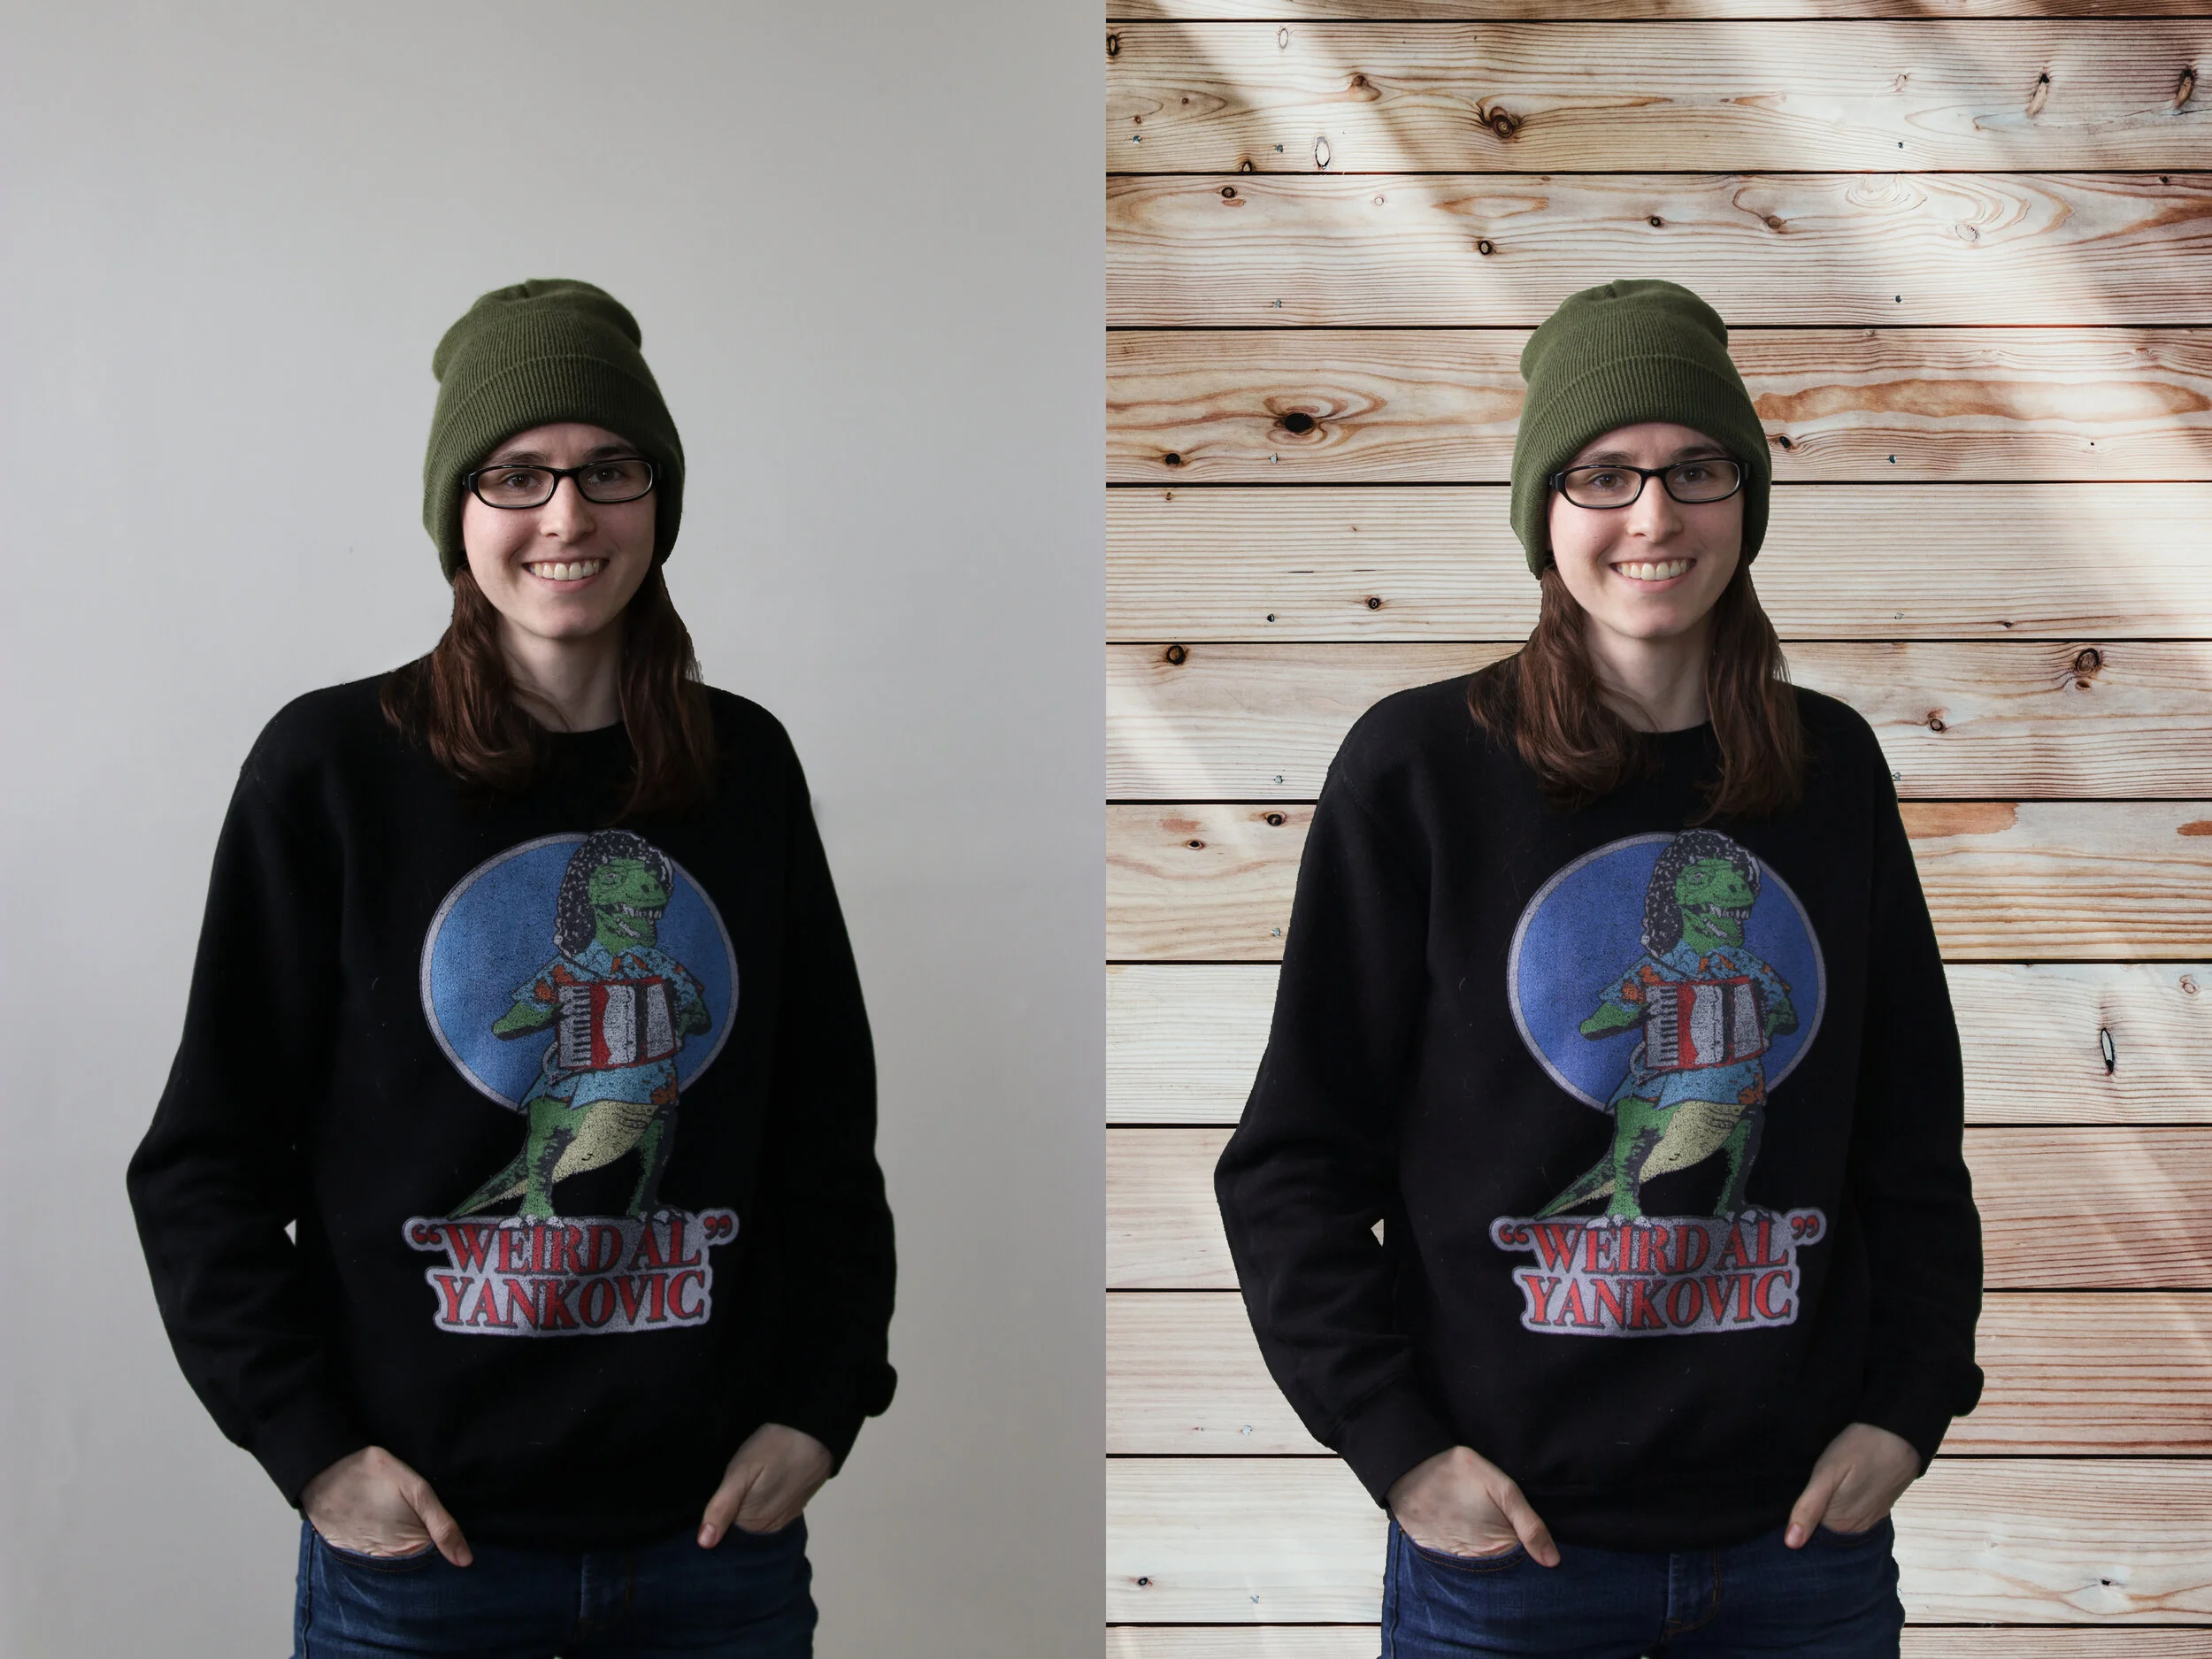
1 MINUTE GUIDE TO PHOTOSHOP’S REFINE EDGES TOOL
Quick SUMMARY
Have you ever worked a green screen, or tried masking out someone’s hair? If so, you know how tricky it can be and the Refine Edges tool in Adobe Photoshop is a powerful and time saving tool that allows you to fine tune complex mask selections. The refine edges tool is designed to improve upon an initial mask selection like hair or fur where the edges become too fine for the magnetic lasso tool to detect. It has also become the standard tool for removing a subject from its background with just a simple drag of a brush.
HOW TO USE IT
Start by making a rough selection of your subject using any selection tool. It does not need to be perfect just make sure you fit the whole subject in your mask.
Once you have your selection active (you will see marching ants) open the refine edges tool by holding the Shift key and going to select in the menu bar and clicking on ‘Select and Mask’.
Now select the refine edges brush tool and start making your way around the subject.
When you stop brushing your selection will be masked and now you can replace the background to see the final result.

